THE STORY
Read the full story, Bunny Danger Awesome Slash Trouble Here.
“Welcome To Happy”
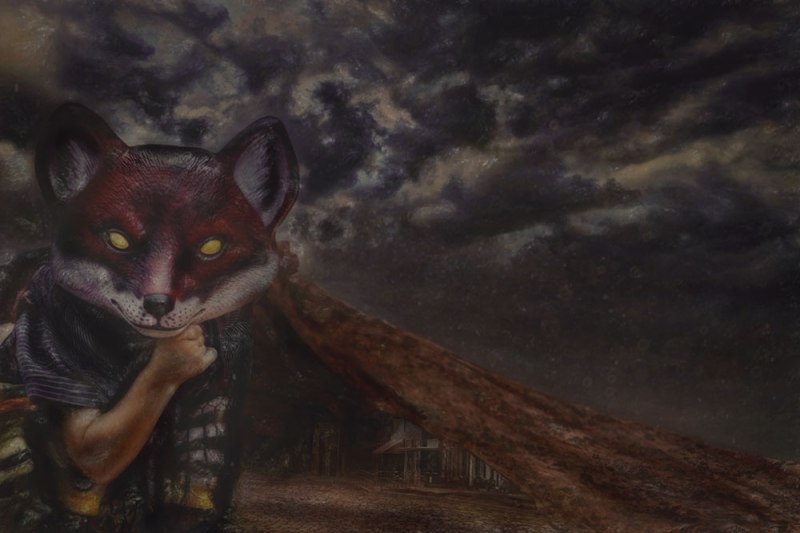
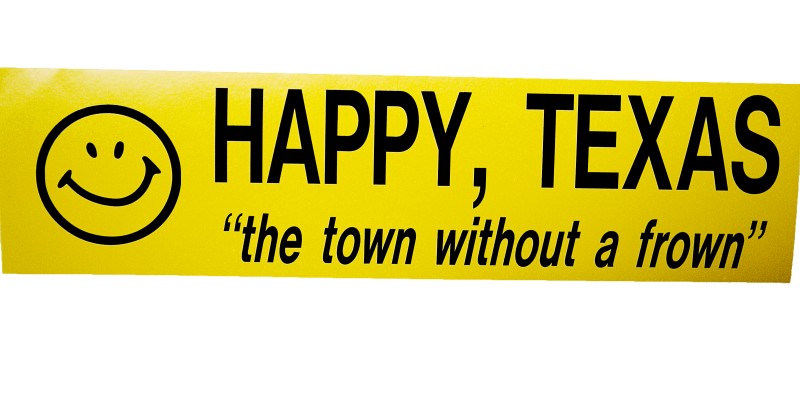
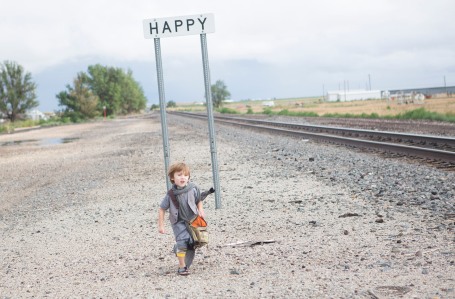
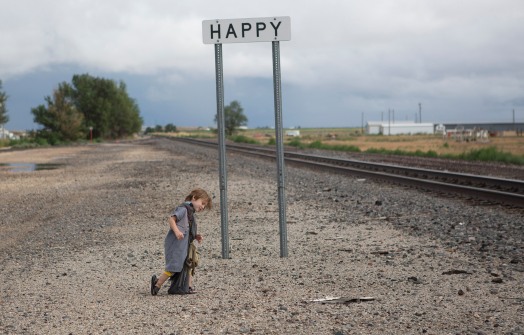
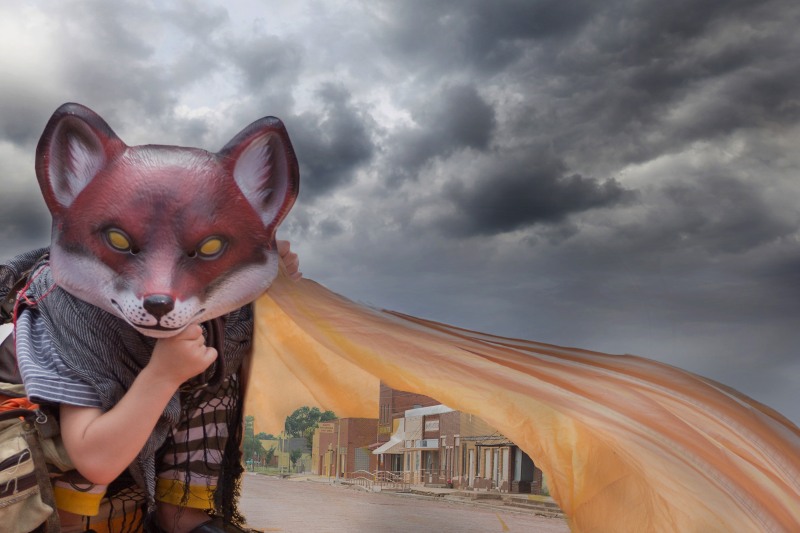
The story begins with the greatest hero known to mankind, an adventurer known as Bunny Danger Awesome Slash Trouble. BDAST is on a lifelong journey complete with a magical backpack that he reaches into and pulls out an adventure every day. His latest quest leads him to the desolate town of Happy, TX, the town without a frown. Bunny quickly discovers, the town without a frown is really the town with no one around.
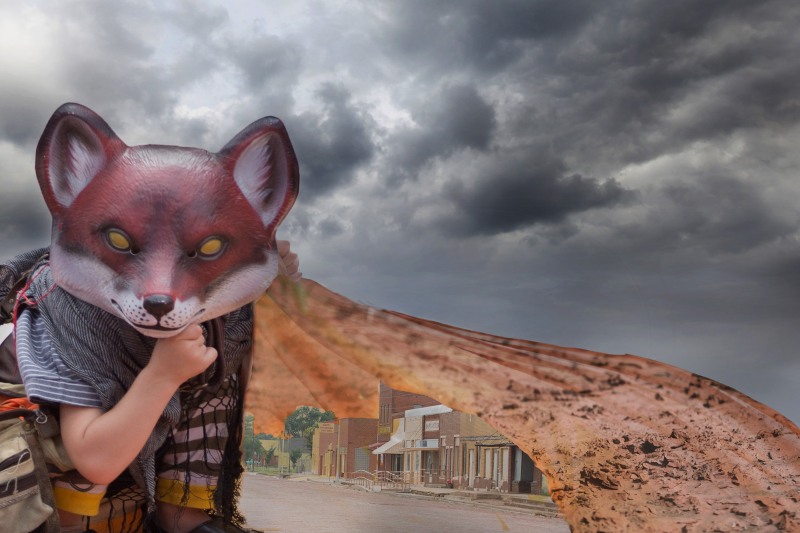
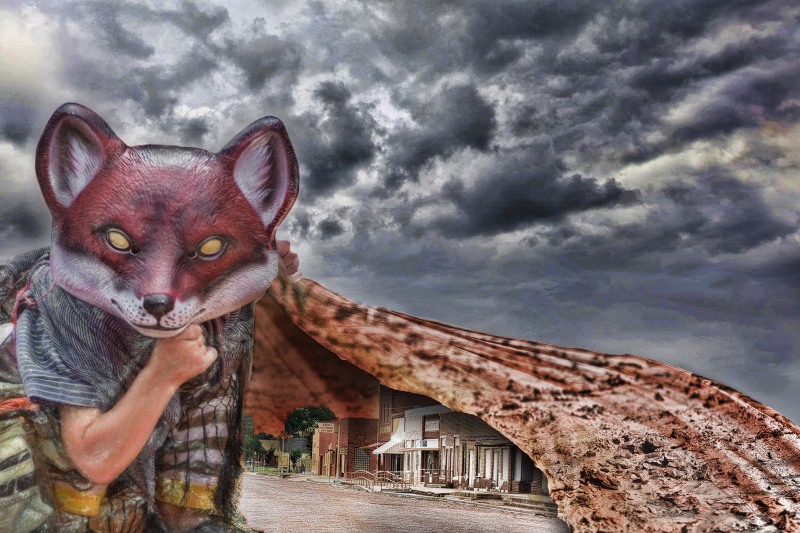
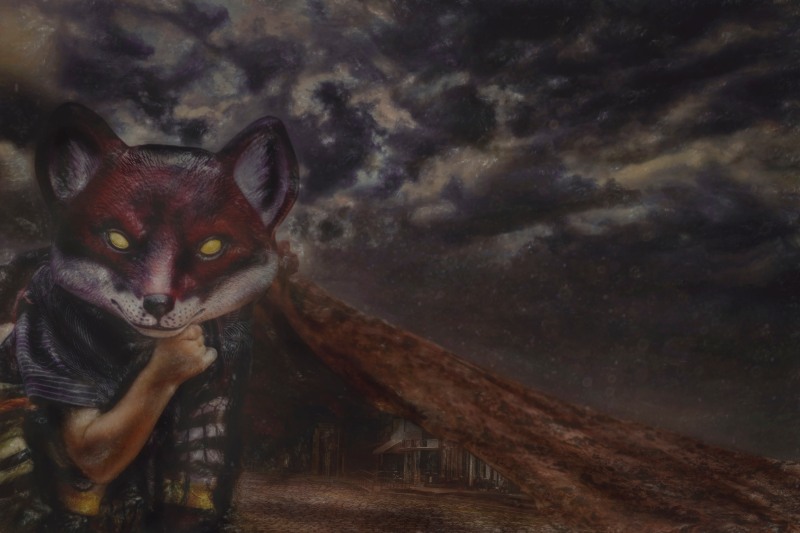
He finds a thick blanket of dirt and dust that has covered the one horse town for decades. He slowly lifts the blanket and peeks inside, knowing that he is just the guy to bring the happy back to Happy.
HOW I RELATED TO THIS CONCEPT
When I sat down to write this story, I had been on a wild ride of adventures found in This Book Will Change Your Life with several of my quirky, life saving friends that helped me come out of a time in my life where absolutely everything had crumbled around me. I remember looking through the pages of the book when I first got it, thinking the adventures on these pages were exactly what I was needing. It was my own peek under a blanket of sadness that had been suffocating me for too long.
WHY BUNNY DANGER AWESOME SLASH TROUBLE
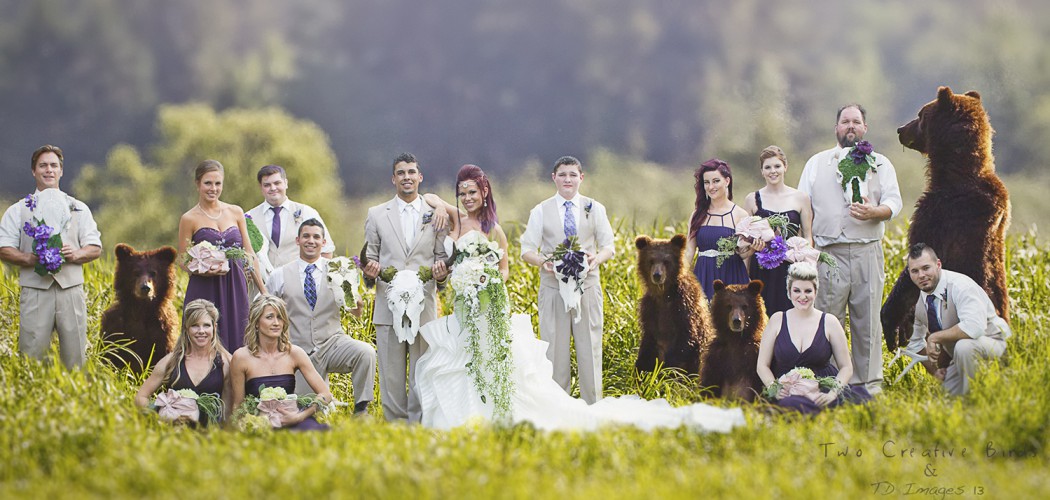
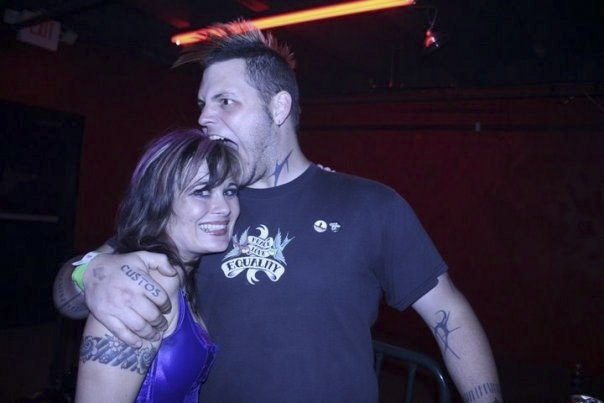
There was never a question that my main character would be based on my real life best friend Bunny Danger Awesome Slash Trouble who refused to let me sit around and wallow and got me to get back to living like I was supposed to. (I don’t always look like a two bit tramp, but this was after a roller derby bout a million years ago.)
THE WARDROBE
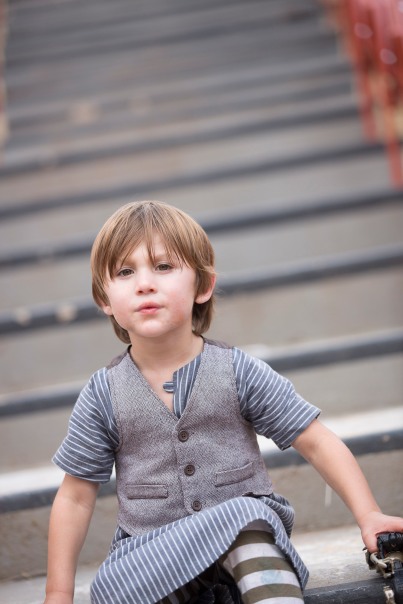
We spent a lot of time trying on outfits for Bunny. I wanted him to have a gypsy wandering feel and he definitely had to have a magical backpack. Jones had a lot of say in what his costume would look like and he was excited to wear his dishdasha from Kuwait that his grandparents brought home from a trip. [No, autocorrect, I did not mean dishwasher.] The idea was to leave it at that and show his face in the images but I kept thinking something was missing. The day we were leaving for Amarillo we stopped off to deliver a wedding album to my favorite wedding couple, Roxy and Daniel Becker. Roxy has an obsession with foxes and when we walked in her house, there he was. There was absolutely no doubt after seeing that mask that it was the face of Bunny. I can’t even begin to imagine what these images would have looked like without that. I think it is the most important element of the entire shoot. It is definitely a reason I love how collaborating and exploring resources around me can shape the outcome of a photo shoot. Before we packed up for our trip I spent a lot of time on Facebook utilizing my resources and finding people willing to help donate props to our cause. Budget saver for the non money haver! (That’s the technical terminology for this act.)
SHOOTING THE IMAGE
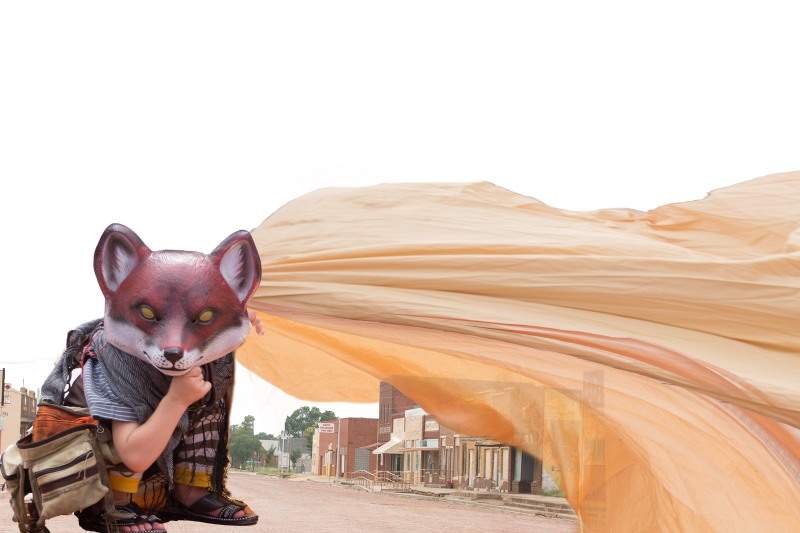
When I planned this image, I knew I wanted to have it look like Happy was covered in a layer of dirt with Bunny peeking inside but I had NO idea how I was going to accomplish that. My imagination is constantly envisioning fantastic scenes, but I am such a visual person that I truly struggle with seeing something that isn’t actually there yet. I can have a concept, but to actually sketch it out and formulate a plan is probably the hardest part of conceptual photography for me. Gabe and I brainstormed ideas for hours for this image. It’s probably the one I was the most afraid of shooting because it was going to be so complicated.
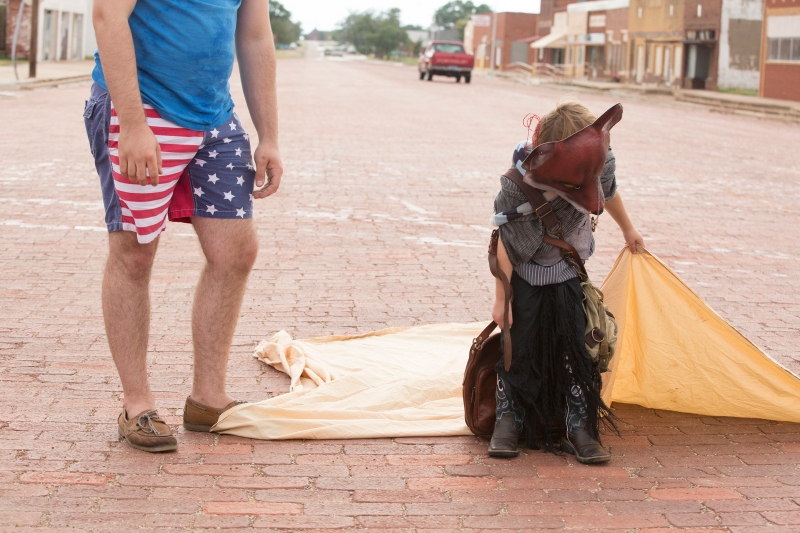
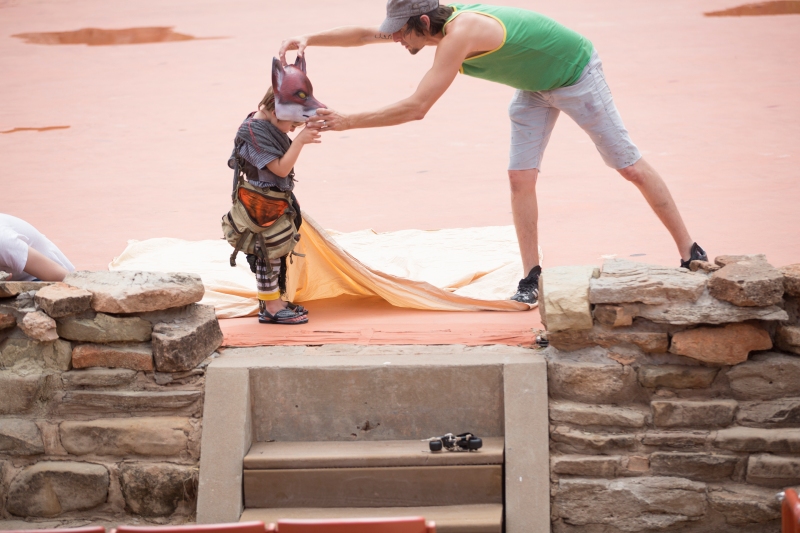
I made sure to shoot it in a couple of different locations because I wasn’t quite sure how I would pull off getting the blanket to lift up above the town. I shot it along the streets of Happy so that I could see the town below it though from what I actually shot, I realized as soon as I began working on it that it was going to take a lot of manipulating to really get what I intended. I also shot it on a stage in the Palo Duro Canyon where the ground was more of the color I was going for with the dirt and bunny and the blanket could be raised a bit.
Does it totally kill your vision of this epic character to know that in reality he was standing next to a man with an American flag on his crotch?
Ideally each of the images in this story would have been shot on their own day where I could spend as much time as possible making them perfect, but that just isn’t the reality I created for myself with this project. I spent months preparing for it and had every image sketched out and a detailed schedule of the week set in stone for what would be photographed when and where. I’m not usually that detail and schedule savvy, but when you are only going to be able to visit a town for one week and your main characters are kids, you can’t shoot a few one year and a few the next year when you’re there again or the kids will be drastically older the next round. (We visit Amarillo and the Palo Duro Canyon every summer for a family reunion.) So in the end, we shot 4 to 5 images a day and although my sweet 3 year old son Jones and my patient and incredible little cousin Hanna were about ready to kill me by the last day, they were amazing troopers the entire time. Jones may be the only 3 year old who can handle a 12 hour shoot day in the heat and still want to wake up and do it again the next day.
THE PROCESSING
I should mention, I LOVE LOVE LOVE my finished images. Absolutely love. But Good Freakin’ Toledos of Holiness, every single image leaves me in tears, stress, happiness, sadness with a hefty dose of freaking out before it comes to fruition. Especially at the beginning. It goes back to that struggle I have with seeing something that isn’t actually there so the initial placement of the things I am compositing together is always a struggle for me. I usually place things where I think they will go, stare at it and throw things agains the wall a few times while I lose myself in the fear that I’ll never figure out how to make it look right. Luckily, Gabe doesn’t have that problem, so I married him. If you aren’t married to Gabe, I highly suggest marrying him immediately, or at least calling him and asking him to help you decide what doesn’t look right in your image. And by the way, you can’t marry him. So just befriend him. He’s quite busy though, so you may just want to find your own Gabe. I found mine at The Jet Lounge in Houston, TX, in case you want to look for your Gabe there.
I set out to put this jigsaw puzzle together and started layering bits together in Photoshop and then I liquified the crap out of the sheet to get it to flow the right way. I knew that I wanted the sheet to look like it was actually made of the ground and luckily I had seen one of my good friends and favorite photographers of all time, Lindsay Adler do a tutorial on Displacement Mapping. She used it to wrap textures on a model’s face and she’s literally the greatest Photoshop teacher I’ve ever had. I’ve been fortunate enough to learn from her in pretty much every way she teaches….from books, in person and on Creative Live. For anyone who ever asks me how I’ve learned Photoshop and where to start, I send them to her Creative Live tutorial. It is literally the best investment I’ve ever made in my Photoshop education. If I was only able to have one class to learn everything I need to know, this would be it. Hands Down.
I also found this tutorial on Displacement Mapping that helped me get through the next steps of turning the blanket into the ground.
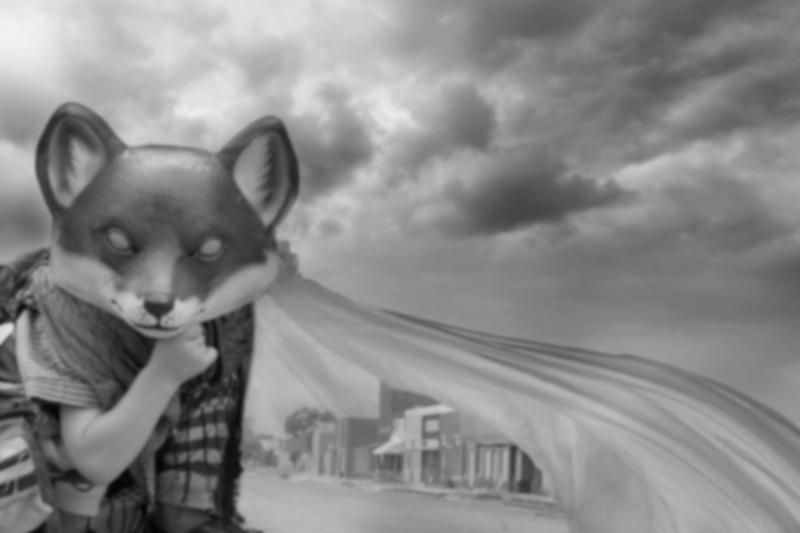
VOILA! Once the displacement map was in place, it started to take shape. At that point, I stopped being afraid that I was going to fail and started to see what was going to unfold. The next thing I began to do was add in some textures. I photographed tons of Texas Panhandle skies and have quite an arsenal now. Thank you Texas for your wide open skies and unpredictable changing weather when I need a variety of skies!
As the story begins, Bunny has been alive and the same age for 657 years and I wanted to begin the story with a very unrealistic, colorful appearance for Bunny. He was an anomaly, visiting a sleepy town to bring his painted brilliance to their lives. As the story goes on, Bunny subtly loses some of that color and flare and becomes more human and less cartoon. But to achieve the crayon-ish look for Bunny I used Alien Skin Snap Art. Alien Skin has some bad ass filters and software that I absolutely love using. I will apply a filter on a layer and then drastically reduce the opacity. I like for each element that I add to my images to be a subtle build up. I may apply it several times throughout the process and layer mask it off of certain areas and add it in again and again in others. It’s all about experimenting, really, until it just ends up being right. THIS JUST IN! ALIEN SKIN IS OFFERING MY READERS A 15% OFF COUPON CODE! tbs0714. It’s for 15% off and will be valid until the end of the year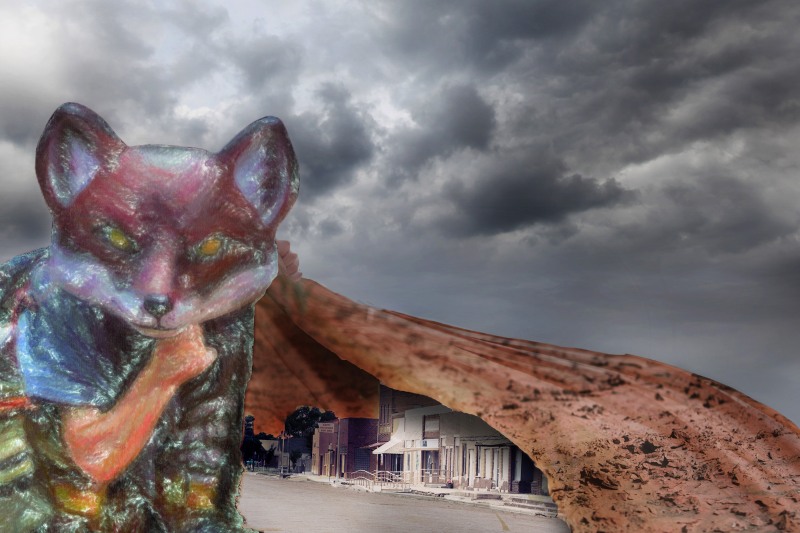
I think it’s safe to say I’ve rarely had any finished image without at least using one or 12 layers of Topaz Labs, Topaz Adjust at some point in the image. My favorite filter of theirs is Vibrance. It really helps to enhance the color, contrast and painterly effect in my images. I always, always, always do a dodge and burn layer with gray set to soft light (also covered in Lindsay’s tutorial) and then add in a Topaz Vibrance to top it off. I definitely reduce the opacity of it to barely being there at all, but it adds the perfect hint of what I need to get my pop. EVERY TIME. Topaz has a free trial period that I couldn’t recommend more. TRY IT. Adjust has so many options that are completely customizable that it’s impossible not to love it.
After layer after layer after layer of curves adjustments to bring the light where I wanted it to go, my first image in my epic journey was complete. The pressure on this one was huge. It was the first, which meant it set the tone for how the others would have to look. I couldn’t possibly love the outcome more. It pushed me to try something I didn’t know I could pull off and it gave my dream project the kick start I needed.
If you like Bunny or even love his odd little self as much as I do, please help me spread the word by sharing him! You never know who might fall for Bunny that might be able to help me achieve the next phase of my journey! I live for collaborating and helping other people achieve their dreams and have been endlessly inspired by what new friendships are able to do when it comes to making dreams come true.
PLEASE share your dream projects in the comments! You never know who might read it and how they can help you. Stick together, my creative nutty friends. You’ll be amazed how you can move mountains. Or canyons as the case was in my journey!
Don’t forget to visit Alien Skin and use our discount code: tbs0714
Follow us on Facebook at Bonnie and Gabe Two Creative Birds!
OTHER POSTS ABOUT BUNNY
TOPAZ ReMask is having an awesome deal from July 15-31! 50% off! Use coupon code “julyremask”

I love this Bonnie. I don’t have a dream project yet, but I would really like to get into one. I can’t seem to find the time in the day to sleep now a days, but a break will come, and I will be back at it. You… are my… Inspiration!
Julie, you are always diving into dream projects! You inspire me daily! (then you quit photography for 5 minutes and dive into it again! REPEAT CYCLE! That’s why i love you!)
I love it! Very inspirational! Ever need just extra hands for your project let me know I’m not far.
Farraha, I would love to have you join in on a project FOR SURE!
Pingback: Bunny Danger Awesome Slash Trouble: The backstory. A blog about why I don’t feel rushed to create art quickly but rather listen to what my dreams tell me to do. | fromthebirdcage
Pingback: Photography Storytellers: This is the contest for you! Grand Prize Complete Topaz Labs Collection | fromthebirdcage
Pingback: How to get out of your miserable funk in 365 Easy Steps. A blog about how a Book Really Did Change My Life and Hopefully Some Great Conceptual Photography Tips Too. | fromthebirdcage
Pingback: Bunny Danger Awesome Slash Trouble: Bunny Peeks In Edit and Instagram Contest Winner Announced! | fromthebirdcage